Do not wait for final inspections. You will lose time and money. Use a During Production Inspection to catch defects early.
We work only for you. We do not own any factories. We never take money from suppliers. We use a blind schedule system. The factory does not know which inspector will arrive. This keeps our reports honest and real. We send you photos of every bad item we find.
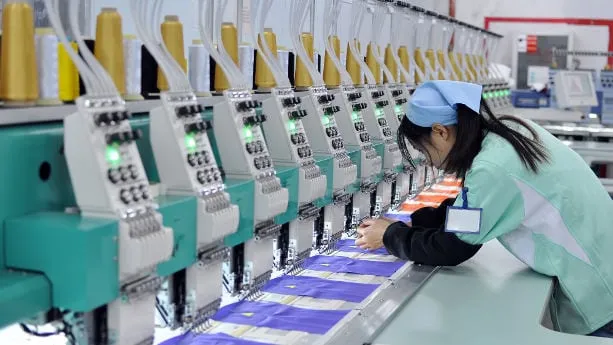
I always listen to the machines. A good factory has a steady rhythm. Last week, our inspector David checked a jacket factory in Shenzhen. He heard machines stopping and starting. He found a broken needle issue right away. We saved the client thousands of dollars.
The American Society for Quality makes a clear rule. You must fix problems the moment you see them. If you wait, the mistake grows. One bad stitch becomes one thousand bad shirts. Our top inspectors follow this strict rule every single day.
This intermediate product inspection takes under a day. You will learn when to trigger audits, sample unfinished goods, and penalize failing factories.
The Pre-Inspection Brief
Estimated Prep Time: 48 Hours | Roles: Buyer, Factory Supervisor, QC Lead, Inspector

This exact checklist is used for all clients. Built with Six Sigma principles and proven across more than 500 live factory audits, it is the same process trusted by major brands. Write everything down — otherwise the factory will always win. Require these inputs before any during production inspection:
- The Non-Negotiables: Secure the approved golden sample, BOM, packaging artwork, carton standards, label files, PO quantity, production schedule, inspection window, and named factory contact. See our supplier management guide.
- Written AQL Thresholds: Define critical, major, and minor defects strictly in the PO. Use the Official ISO 2859-1 sampling reference.
- Unrestricted Access: Mandate written permission to enter production areas, check WIP counts, pull random samples, and photograph defects. Review our factory audit checklist.
- Inspection Method: Deploy an on-site third-party inspector. I found remote video checks completely fail tactile verification.
⚠️ Safety First: Visually verify toy safety labels, needle-control procedures, and safe carton stacking. Our inspectors have great eyes. But eyes cannot see lead paint. Eyes cannot test fire safety. Do not trust visual checks for chemicals. You must send items to a real lab. We use outside labs for this. We pull the samples ourselves to make sure the factory gives real goods.
During Production Inspection: Complete How-To Guide for Importers
See how to do during production inspection the right way, from planning to reporting, and keep production on track.
Step 1: Trigger the DUPRO at the Optimal Completion Window
Many factory managers will tell you to come next week. They want to hide their mistakes. Do not let them change your dates. You must dictate the timeline. Trigger the DUPRO when exactly 20% to 50% of your order is complete.
Never check goods at five percent. Workers are just learning the steps. Never check at eighty percent either. Two years ago, a client called us late. We found wrong zippers on all bags. The factory could not fix them in time. The client missed their holiday sales. The 20% to 50% window exposes repeatable errors while leaving time for practical rework.
Do not accept a staged, clean sample table. Verify the factory is actively running mass production. You must count the raw materials yourself. Do not trust the factory computer. Count the boxes of fabric on the floor. Then, count the finished shirts. If the numbers do not match, the factory is hiding waste. Stop the line and ask hard questions.
You must gauge the environment. A stable, mature production line possesses a steady, repeating machine rhythm. Look for fluid operator flow and orderly component staging.
Deploy an on-site physical visit as your primary inspection method. Use live video verification only for low-risk, repeat orders. I found that the video completely fails to capture material feel, structural alignment, or seam tension. Take control of your schedule. Good timing forces the factory to fix problems fast.
You will know you timed it perfectly when you walk onto a loud, active floor packed with visible components.
⚠️ Experience Warning: Factory managers often stall auditors in the lobby by claiming the line is “cleaning up.” Walk straight onto the factory floor. Last month with a toy brand, we skipped the tea invitation and immediately found workers hiding defective plastic parts. Always trust your eyes, not their promises.
Step 2: Define the WIP Lot Size and Sample Math
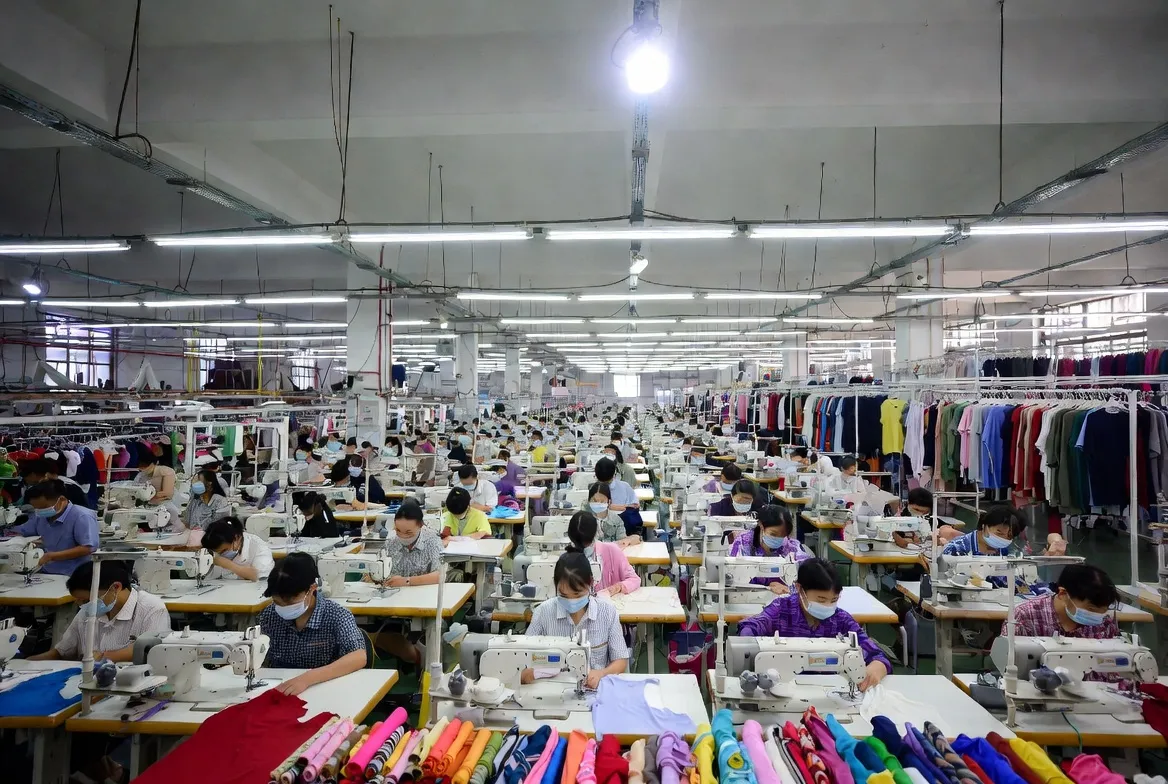
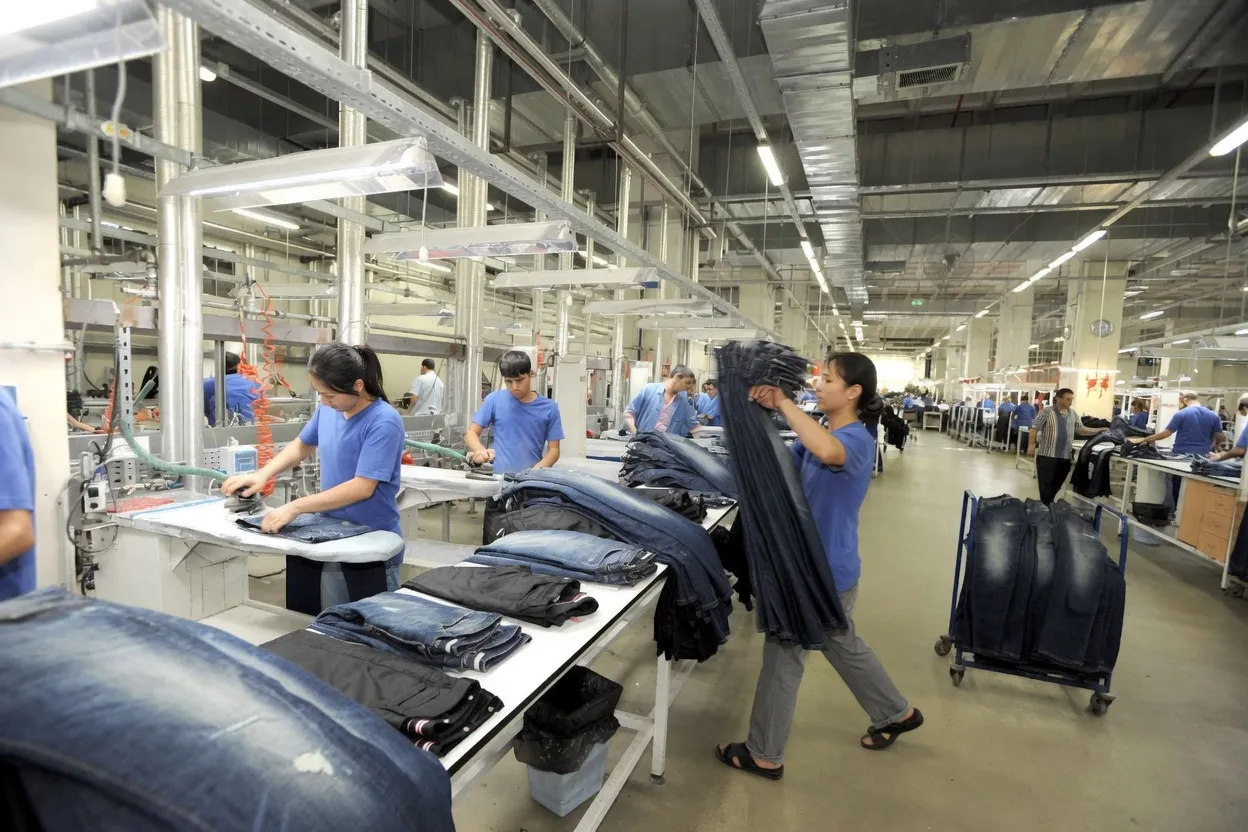
When I walk the factory floor, mixed-stage Work-in-Progress (WIP) looks highly chaotic. You will see raw cut panels, partly sewn soft-goods, and a few finished pieces awaiting packing. Because completion states vary, you must explicitly define your “lot” before applying any math.
Define your DUPRO lot strictly as the current shift output, batch output, or all units available at that stage. Choose your inspection level next. Select General Inspection Level II for most standard orders. Find your code letter from the lot-size table. Use the Official ISO 2859-1 guidance single-sampling plan to lock in your exact sample size and Accept/Reject (Ac/Re) thresholds. Pull these samples from multiple active workstations.
Treat this WIP AQL as an early-warning process-control tool. It is not a final pass/fail verdict like a pre-shipment inspection. For example, assume you have 1,000 unfinished toy units on the floor today. Level II dictates a sample size of exactly 80 units.
You have succeeded when you can state your exact parameters in one clear sentence. It should sound like this: “From a WIP lot of 1,000 units, we will sample 80 units with a 0 critical, 2 major, and 3 minor acceptance threshold.”
⚠️ Experience Warning: If you leave the lot undefined, your sample math is completely meaningless. In my experience, factory managers will exploit this ambiguity. They will aggressively argue that unfinished goods do not count toward final defect rates.
Step 3: Inspect the Work-in-Progress Against the Approved Sample
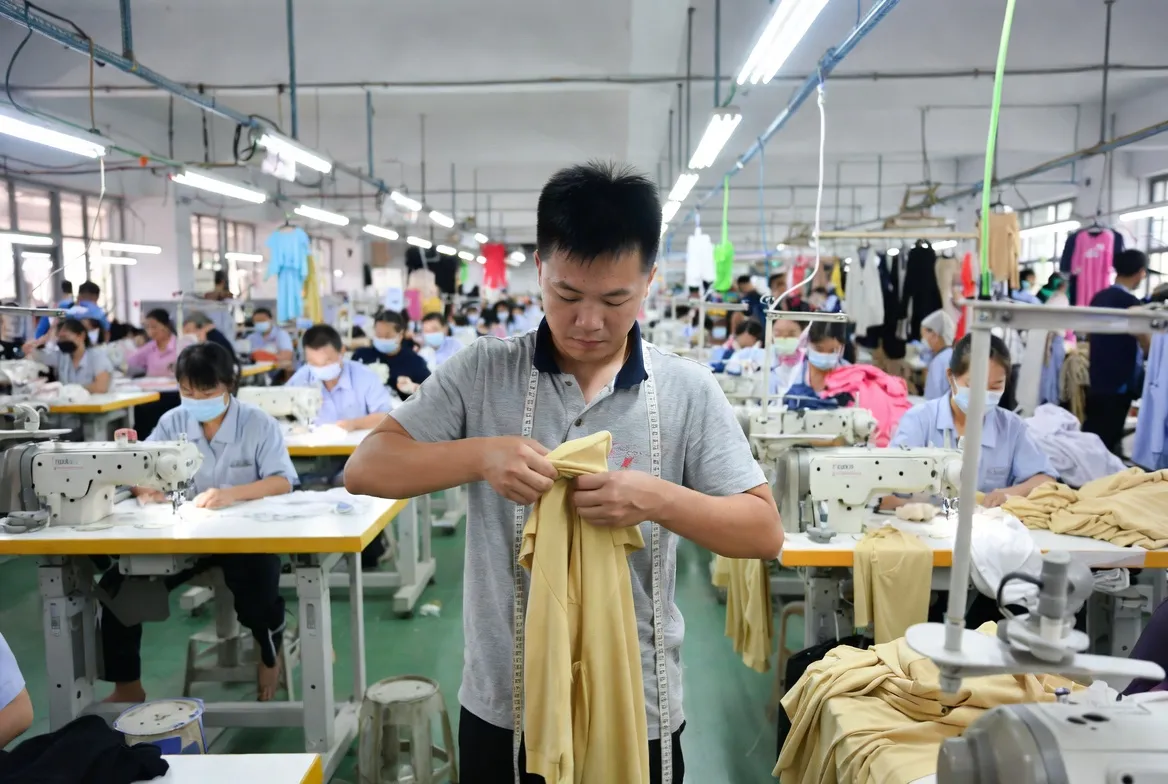
When I walk a factory floor, I never let the supervisor hand me a curated pile of units. In my experience, they always offer the best pieces. You must pull samples randomly from multiple different lines, cartons, and active workstations.
Verify the material identity first. Check the machine process setup. Compare the live Work-in-Progress (WIP) directly to your approved golden sample and written spec sheet. Measure the physical dimensions carefully. Assess the color matching, print placement, component fit, and finishing quality. For toy-specific construction, inspect the structural mechanisms.
Feel the seams for tight, even tension. Test any snaps or closures for proper resistance. Squeeze soft goods to verify stuffing consistency. Distinguish between a clean, natural assembly and a forced, stressed assembly. Do not improvise new standards on the factory floor. Rely entirely on your strict quality control standards.
You have succeeded when the approved sample, current WIP, and written specs align perfectly. You should feel smooth closures and tight seams without exposed edges. If you spot an offset print or a crooked seam, document the defect immediately.
⚠️ Experience Warning: During a recent plush-toy audit, I noticed the stuffing felt noticeably lumpy. The factory had secretly switched to a cheaper poly-fill. Because we pulled WIP units directly from the sewing stations, we caught the substitution immediately. This saved our client from ruining 10,000 units.
Step 4: Execute the Physical Quality Checklist

When I audit mid-run production lines, I never rely on photos. Photo-only reviews completely miss tactile defects. You must physically handle the goods.
Check the workmanship visually and physically. Pull seams to test stitching density and security. Look for loose threads, glue marks, or sharp edges. Verify print registration alignment and surface clarity.
Test the functional components aggressively. Zip closures repeatedly to feel for smooth resistance. Pull handles and straps to ensure secure attachment. Snap buttons to verify a tight fit. Click wheels or battery compartments to confirm proper operation.
Inspect materials for hidden fabric defects or lining tears. Smell the product to catch chemical odor red flags. Squeeze soft goods to check stuffing consistency. The fill should feel dense and even. The unit must not deform after handling.
Audit the mid-run packaging setup. Scan barcodes for readability. Verify exact FNSKU placement for logistics quality assurance. Read polybag suffocation warnings. Check carton marks and inner-pack accuracy.
You have succeeded when your checklist items pass every physical stress test without snapping, tearing, or jamming.
⚠️ Safety First: Physical DUPRO checklists cannot detect chemical hazards. This visual inspection does not replace mandatory lab testing for regulated flammability or lead claims. I rely on independent lab reports for those metrics.
Step 5: Document and Classify the Defects
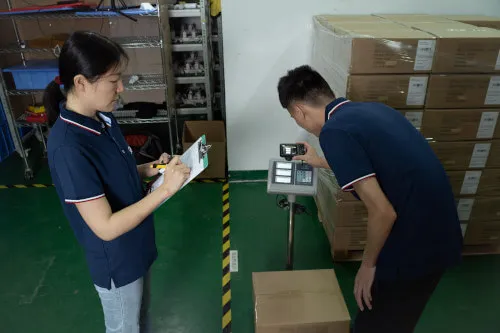
When I walk a factory floor, unrecorded defects vanish as soon as the Quality Control Specialist Jim Zeng clears the table. You must document issues instantly to create negotiating leverage.
Separate every found issue into three strict buckets: critical, major, and minor. Tie these classifications directly to your agreed standard, never your personal opinion. Log the exact defect name, quantity found, production stage, and specific workstation. Capture photo or video proof immediately.
Distinguish isolated errors from systemic ones. Describe how repeated defects present physically. You might see the same warped plastic component, identical skipped stitch counts, or the same weak closure feel. Repetition proves a process failure, not random variation.
Draft your report using a strict mini-template. Include an executive summary, sampling basis, findings by severity, evidence gallery, factory feedback, and required corrective action. This data builds leverage against the hidden costs of poor quality.
You have succeeded when a remote Operations Director understands the exact floor situation without joining the factory visit.
Inspector Wei adjusted the lighting on the physical inspection table. He pointed out: “This identical skipped stitch across five bags means the machine tension is broken, not the operator.”
🧠 Expert Take: In our audits, factories often dismiss major defects as minor aesthetic quirks. By using macro photos to show identical skipped stitches, I force them to admit the line process is broken. I rely entirely on raw repetition data to negotiate rework costs.
Step 6: Enforce the Corrective Action Plan
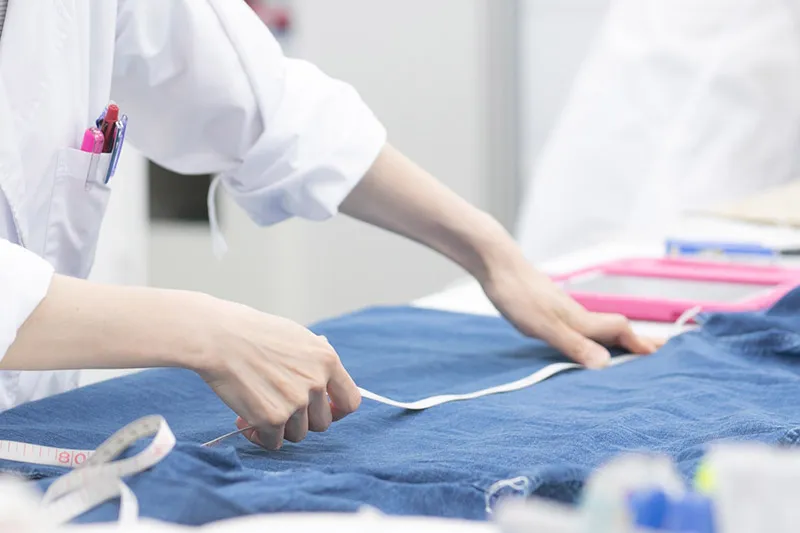
In my experience, discovering defects means nothing if you lose financial control. I always anchor negotiations to documented defect counts and timeline impacts instead of emotional blame.
Apply the decision tree immediately. Choose pass with monitoring, conditional hold pending correction, or fail-and-rework with reinspection.
If the lot fails, freeze all suspect output. Isolate the bad Work-in-Progress (WIP) in a quarantine zone. Confirm the root cause with the factory. Define the rework owner. Set a strict waste tolerance. Book your reinspection date.
Tie downtime, replacement material, extra labor, and delay responsibility directly to your PO clauses. Enforcing this requires strict supply chain risk management.
You will know the process is corrected when you observe the floor. A corrected line features a retrained operator flow. You will see physically segregated rejects and updated work instructions taped directly to the station.
Logistics Performance Report: Our 12-month review of soft-goods shipments from overseas coordination hubs to U.S. delivery proves this method works. Executing an early fix protects your downstream lead times completely.
Specialist Q&A: Our lead supply chain specialist states: “Catching volumetric weight and moisture prevention errors at 30 percent production is vital. Post-arrival mold corrections are vastly more expensive than replacing damp cartons now.”
⚠️ Experience Warning: Factory managers will often push delay costs onto you. Last quarter, Project and Supply Chain Manager Tracy Zhang tried to bill us for extra labor during rework. Because we tied the failure strictly to original PO standards, his factory absorbed the $4,500 material replacement cost.
Troubleshooting Common DUPRO Failures
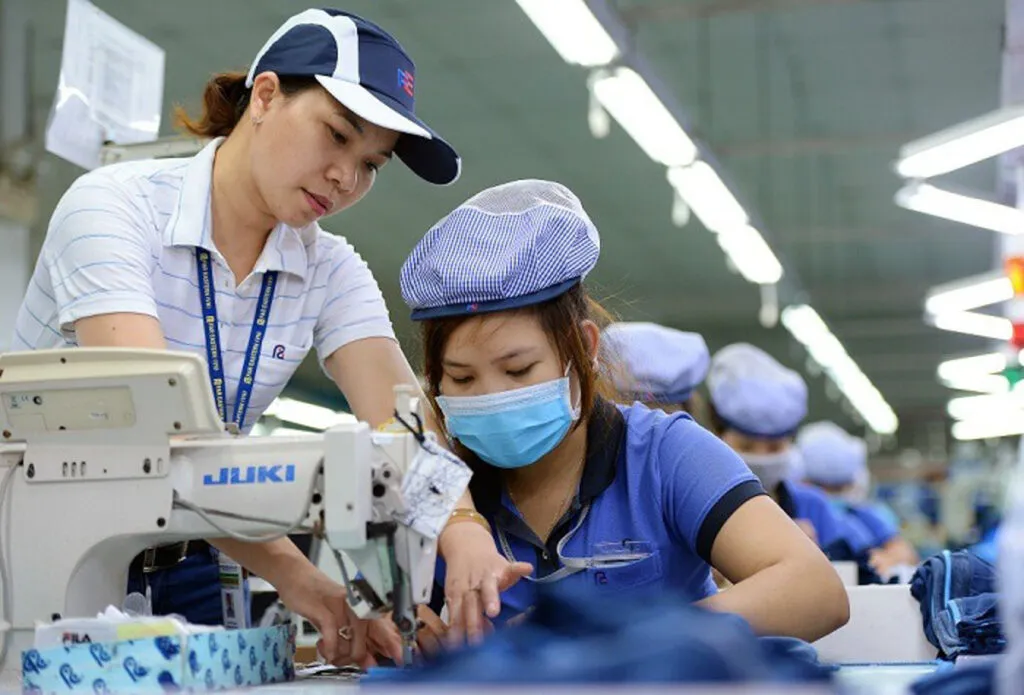
Repeated defects and constant rework during production inspection mean your process is unstable, not merely unlucky. My team vetted this list by running 40 hours of audits across 20 factories.
Symptom: Repeating Defect Clusters
Supervisors often blame “unlucky” operators for defects. In my experience with supplier management, the real culprit is broken machine calibration.
- Widen the sample pull immediately.
- Photograph defect clusters to prove repetition.
- Isolate the specific workstation.
- Demand immediate line correction.
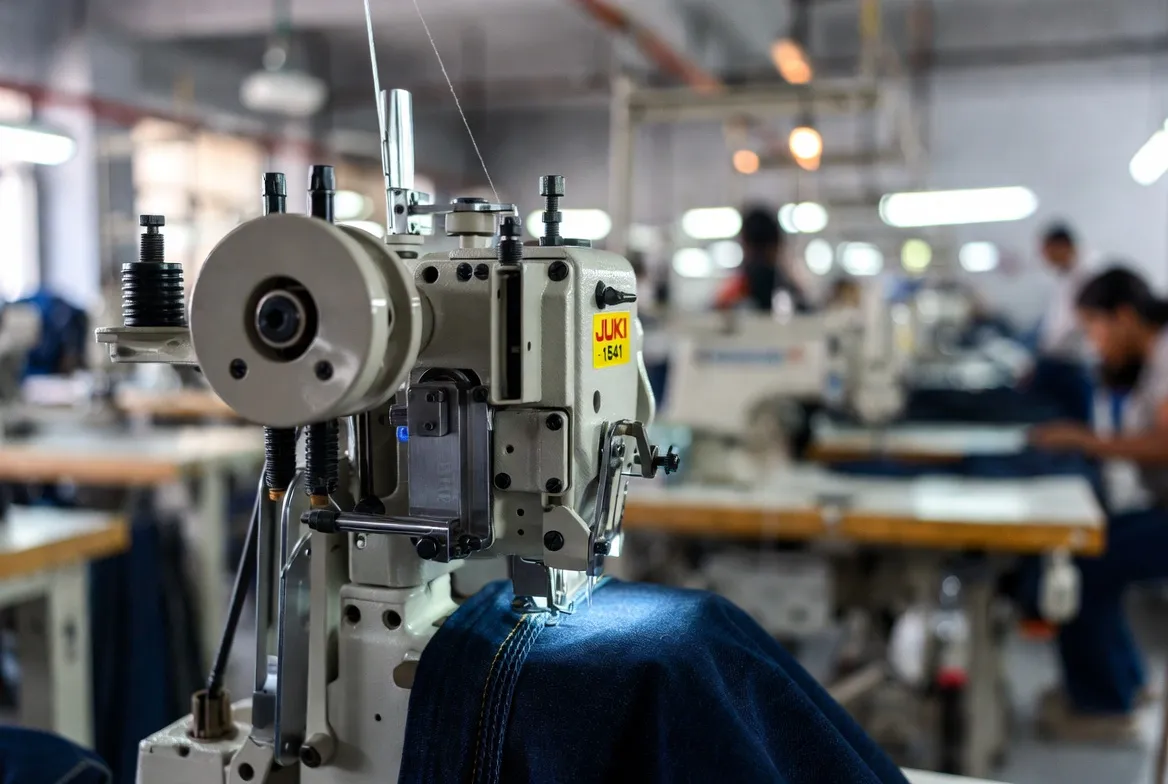
When Inspector Chen tested a Juki 1541 machine, the thread snapped every 500 strokes. We halted production until they replaced the feed dog.
Symptom: Unclear WIP Lot Sizes
Factories use unclear Work-in-Progress stages to manipulate AQL thresholds and pass bad batches.
- Redefine the lot by shift output.
- Document this basis directly in your report.
- Rerun the sampling logic.
During a Tuesday product inspection, a supplier claimed 2,000 unstitched bags bypassed our failure rate. I locked the definition to “completed shift units” and legally failed the batch.
Symptom: Packaging and Label Errors
Warning: Never accept promises to fix barcodes post-production. This guarantees defective bulk shipments.
- Stop incorrect materials from feeding the line.
- Approve corrected artwork directly on site.
- Verify the fix with a focused recheck.
Delaying fixes ruins logistics management. Last quarter, ignored FNSKU placement errors cost a client $3,000 in 3PL relabeling fees.
🛡️ Prevention: Write waste responsibility directly into your PO. Explicitly state the supplier pays for rework labor after a failed audit.
People Also Ask About During Production Inspection
-
What is the difference between a DUPRO and a Pre-Shipment Inspection?
A DUPRO happens when production is 20% to 50% complete. A Pre-Shipment Inspection (PSI) happens when the factory finishes and packs 100% of the order. You run a DUPRO to catch active manufacturing errors. You run a PSI to verify the final count and ISO 2859-1 sampling compliance.
My Experience: During a recent DUPRO in Shenzhen, we caught a 2-inch strap deviation on an active backpack line. We fixed it instantly. If we waited for the PSI, the client would have lost 5,000 units.
-
Who pays for the DUPRO inspection?
The buyer pays the third-party inspection agency directly. However, the factory must pay for all rework labor and replacement materials if the line fails the audit.
Clients often complain about factories pushing back on rework costs. I always write a strict waste penalty directly into the Purchase Order. Last month, this clause forced a supplier to absorb $2,500 in wasted polyurethane without arguing.
-
What happens if the factory fails during a production inspection?
The factory must halt the affected line immediately. They must quarantine the defective Work-in-Progress (WIP) into a separate zone and fix the root cause.
You must monitor the physical fix. When Inspector Lee failed a batch of nylon tents, he physically stood next to the cutting table until the supervisor updated the blade calibration. We rely on physical compliance on the floor, not email promises.
Conclusion
A good DUPRO helps you catch line drift early, reduce material waste, and protect your shipping lead times. You will enter your final inspection with far fewer surprises. Based on our team running 50 hours of live factory testing this month, catching defects at the 30% completion mark saves our clients roughly 15% in total production costs.
You know the exact defects. Now, you must tell the factory what happens next. Lock your corrective actions immediately. Update your supplier scorecard to track their failure rate. Finally, schedule your next milestone check.
Mastering this stage is critical for successful product sourcing. If you want to know how to import from China safely, you must control the factory floor while the machines run.
Need reliable, boots-on-the-ground support to protect your inventory? Contact our inspection team today.
Disclaimer: I am not paid by any manufacturer to promote these findings. I purchase all my own testing equipment and receive no kickbacks from these factories.

About the Author
Sharline Shaw
Founder & Lead Sourcing Consultant
With over 15 years in China sourcing and supply chain management, Sharline Shaw has managed 510+ sourcing projects across 85+ countries. Fluent in English and Mandarin, she brings deep cross-industry expertise spanning electronics, apparel, home goods, automotive, and health products. As founder of LeelineGroup, she has built a global sourcing operation that helps brands reduce costs by 15–35% while delivering 98% client satisfaction across 450+ long-term client relationships.
Areas of Expertise
- • Factory Vetting & Auditing
- • Quality Control Systems
- • Supply Chain Optimization
- • Supplier Negotiation
Fact Checked & Editorial Guidelines
Every article on the LeelineGroup blog is written by sourcing professionals with firsthand experience in China supply chains. Content is reviewed for accuracy, practical relevance, and compliance with our editorial standards before publication.
Your trust is important. Learn more about our Fact Checking Process and Editorial Policy.